Transform Your Garden: Expert Drainage System Installation for a Lush and Healthy Landscape!
So, you’ve got this lovely garden space and you’re dreaming of it bursting with vibrant flowers, juicy veggies, or maybe some lush greenery. But then—ugh!—you notice the soil’s more like a swamp after every rain. I’ve been there! There’s nothing worse than watching your plants struggle because the water just won’t drain properly. It took me a few messy trials to finally crack the code on efficient drainage for my garden.
Alrighty then, let’s dive into how you can get your garden in tip-top shape with some good old-fashioned drainage tricks. Trust me, once you nail this down, your plants will thank you with blooms and harvests that’ll make your neighbors green with envy!
### Step 1: Understanding Your Soil
First things first—you gotta know what kind of soil you’re dealing with. Is it clayey? Sandy? Loamy? Each type has its own way of handling water. My patch was heavy on clay, which meant water just sat there like an uninvited guest at a party. You can do a simple test by grabbing a handful of moist soil and giving it a squeeze. Does it clump together tightly (clay), crumble apart (sandy), or hold its shape but easily break apart (loam)? Knowing this helps tailor your approach.
### Step 2: Plan Your Drainage System
Once you’ve got the dirt on your dirt (pun intended!), sketch out where the water tends to pool in your yard. I remember spending one rainy afternoon doing exactly this—dodging puddles while trying to keep my notepad dry! The key is spotting those low areas where water naturally collects.
### Step 3: Choose Your Drainage Method
There are quite a few ways to tackle drainage issues, so you’ll wanna pick what suits best for your situation:
– **French Drains**: These are trenches filled with gravel that redirect water away from troubled spots. They’re perfect if you’ve got larger areas that need help.
– **Dry Wells**: Great for capturing runoff and allowing it to slowly seep back into the ground.
– **Rain Gardens**: Not only practical but also pretty! You plant moisture-loving plants in depressions that collect excess rainwater.
I went with French drains because they fit right into my landscaping plans without making too much fuss.
### Step 4: Gather Materials and Tools
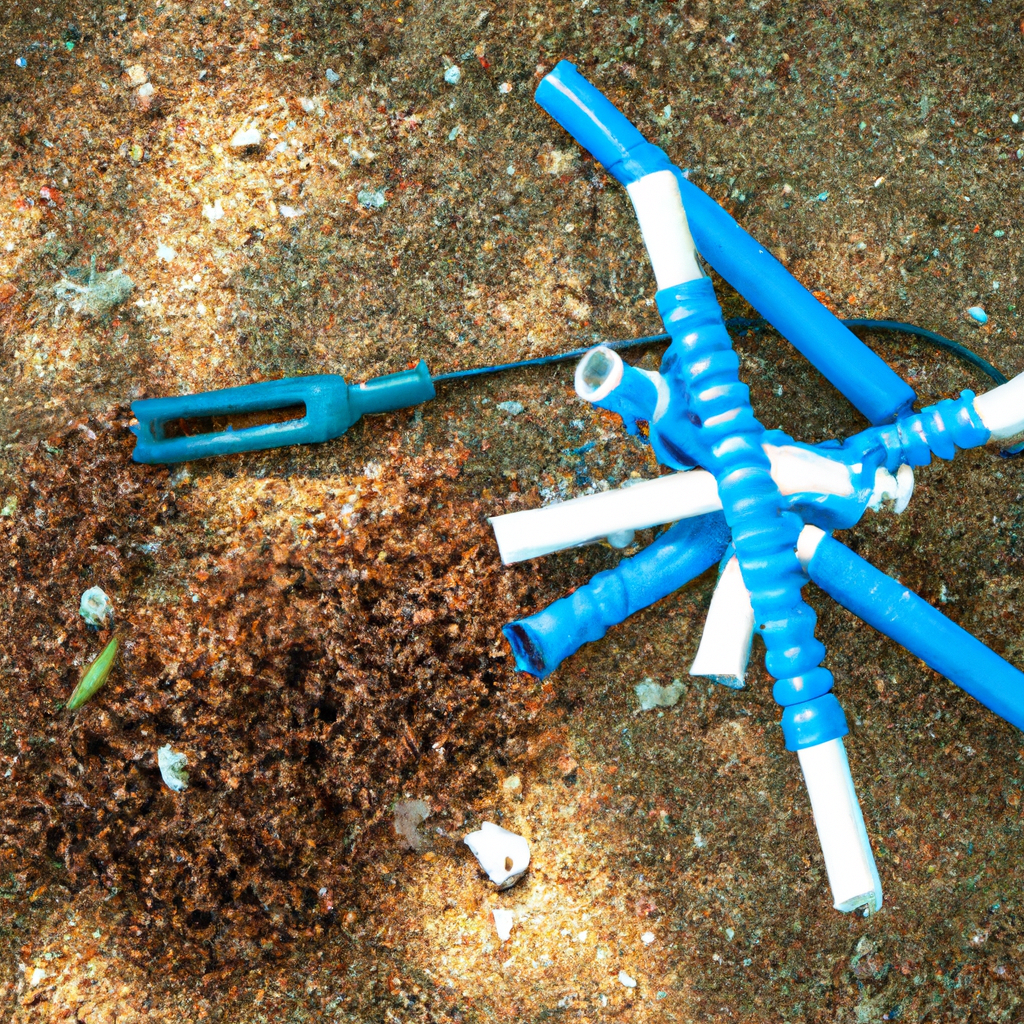
Time to roll up those sleeves! You’ll need shovels, gravel, perforated pipes if you’re going down the French drain route—a whole lotta stuff I had never even heard of before jumping into this project myself! Make sure you’ve got everything ready before you start digging around; no one likes mid-project runs to the hardware store!
### Step 5: Installation Time
Here’s where things get real messy—but fun too if you’re anything like me and enjoy working hands-on outdoors:
1. **Dig Trenches:** Follow that plan from earlier and start digging those trenches about 18 inches deep.
2. **Lay Down Fabric:** Landscape fabric prevents roots from clogging up your new system.
3. **Add Gravel:** Pour about two inches of gravel at the bottom of each trench—it helps direct flow toward pipe openings effectively.
4. **Place Pipes:** Lay perforated pipes atop gravel base; they’ll carry away excess moisture efficiently!
5. **Cover Up With More Gravel And Fabric:** This keeps everything secure while letting excess water pass through effortlessly.
6. **Fill Back In With Soil Or Sod** depending on what works aesthetically for ya!
It sounds intense—and yeah—it kinda is at first blush but breaking tasks down step-by-step makes all difference plus there’s immense satisfaction watching everything come together bit by bit right under nose!
### A Little Anecdote For Motivation:
Funny story… halfway through installing mine last summer—I underestimated how much gravel was needed by miles! So there I am frantically calling friends asking who could spare an extra bag or five… oh boy was THAT humbling moment indeed!
Still when all said done seeing how healthy happy my plants looked afterwards made every bead sweat worth effort tenfold believe me—even today walking past still fills heart such pride knowing tackled challenge head-on succeeded marvelously despite initial hiccups along journey…
If any doubts questions pop mind don’t hesitate reaching out love sharing tips learning experiences others fellow garden enthusiasts—we’re growing community literally metaphorically speaking aren’t we?!


